
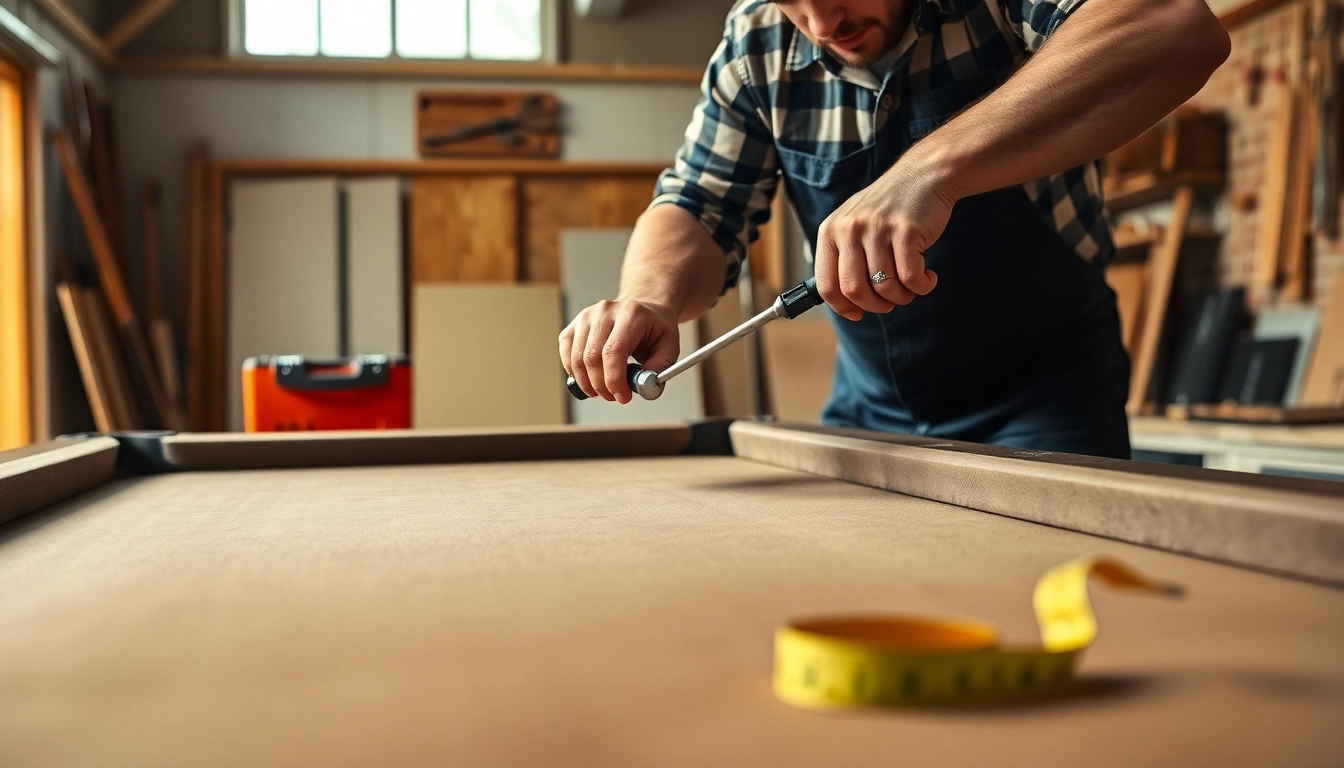
Understanding Pool Table Disassembly
What is Pool Table Disassembly?
Pool table disassembly is the process of carefully taking apart a pool table into its component parts. This is often necessary when relocating the table, performing maintenance, or recovering the felt. Proper disassembly ensures that all pieces can be transported safely and reassembled without damage.
Why Pool Table Disassembly is Important
Disassembling a pool table involves more than just unscrewing bolts; it's crucial for maintaining the table's structural integrity. Understanding the disassembly process can prevent damage to the slate, frame, and cloth, ultimately extending the life of the table. Furthermore, Pool Table Disassembly is vital for those moving to a new location or undergoing renovations.
Common Misconceptions about Pool Table Disassembly
Many believe that disassembling a pool table is a simple task that can be done in a matter of minutes. However, it requires careful planning, the right tools, and a methodical approach to ensure no part is damaged. Another misconception is that disassembly is only necessary when moving the table; however, regular maintenance or upgrades might also require it.
Preparation for Pool Table Disassembly
Tools Needed for Pool Table Disassembly
Before starting the disassembly process, gather the necessary tools. Essential tools include:
- Wrench or socket set for removing bolts
- Power drill for screws
- Staple remover for removing felt
- Pliers for handling tight components
- Screwdriver for detailed parts
- Utility knife for cutting felt
- Protective gloves and goggles for safety
Safety Measures During Pool Table Disassembly
Safety should be a top priority during disassembly. Ensure you have proper lighting in the workspace to avoid accidents. Wear gloves to protect your hands from sharp edges and goggles to shield your eyes. If the pool table is particularly heavy, enlist a friend to help lift and carry parts to prevent injuries.
Assessing the Pool Table Type for Disassembly
Not all pool tables are created equal. There are various types, such as slate and wood, each requiring different disassembly techniques. Assess whether the table has features like ball return systems or built-in storage, as this will inform your approach. Understanding your specific model can greatly influence the disassembly strategy you employ.
Step-by-Step Instructions for Pool Table Disassembly
Removing Accessories Before Pool Table Disassembly
Start by clearing the surface of the table of any accessories, such as balls, cue sticks, and chalk. Then, remove the pockets if your table has them. Pockets are often secured by screws and can usually be taken off without much difficulty. Keeping these components separate aids in reassembly later.
Disassembling the Rails and Pockets
Next, focus on the rails of the table. Start by unscrewing the bolts or screws that hold the rails in place. Often, you will find additional hardware at the corners that need to be addressed. Carefully lift each rail away from the table, ensuring not to damage the felt beneath.
Carefully Removing the Slate for Pool Table Disassembly
One of the most critical steps is removing the slate. The slate typically is very heavy, and it’s essential to handle it with care. Unscrew the slate bolts, which can usually be found at the corners and in the middle of each section. Once removed, gently lift the slate off. It may require assistance due to its weight, so coordinate with a partner if necessary.
Post-Disassembly Procedures
Cleaning Components After Pool Table Disassembly
Once your table is disassembled, take the opportunity to clean all components. Use a damp cloth to wipe down the slate and rails, ensuring to remove any dust or debris. This step is particularly important if you plan to recover the table, as it ensures a smooth surface for new felt.
Preparing for Transport After Pool Table Disassembly
After cleaning, it's essential to prepare the components for transport. Bundle smaller parts together using tape or a bag to avoid losing them, and wrap more delicate pieces, like the slate, in protective padding. Label each bag of parts that were removed to make reassembly faster and easier.
Reassembly Tips Following Pool Table Disassembly
When reassembling, take your time to ensure accuracy. Start by placing the slate back onto the frame and securing it with the bolts you previously removed. Follow the disassembly process in reverse, ensuring all screws are tightened to maintain stability. If replacing the felt, carefully lay it out, ensuring it’s smooth before stapling it back down.
Frequently Asked Questions About Pool Table Disassembly
How long does pool table disassembly take?
The average time for disassembling a standard pool table ranges from two to four hours, depending on your experience level and the table's design.
Can I do pool table disassembly myself?
Yes, it can be done as a DIY project if you have the right tools and follow a systematic approach. However, a little help from a friend is recommended for heavy components.
What tools do I need for pool table disassembly?
Common tools include a wrench, power drill, staple remover, pliers, and a utility knife. Always ensure you also have safety equipment like gloves and goggles.
How much does professional pool table disassembly cost?
The cost for professional disassembly typically ranges from $150 to $400, depending on your location and the complexity of the job.
Is pool table disassembly difficult?
While disassembly can be challenging, especially for beginners, having a clear plan and following systematic steps can make the process manageable and straightforward.